// Open Sauce 2026
BuildYourBadge.
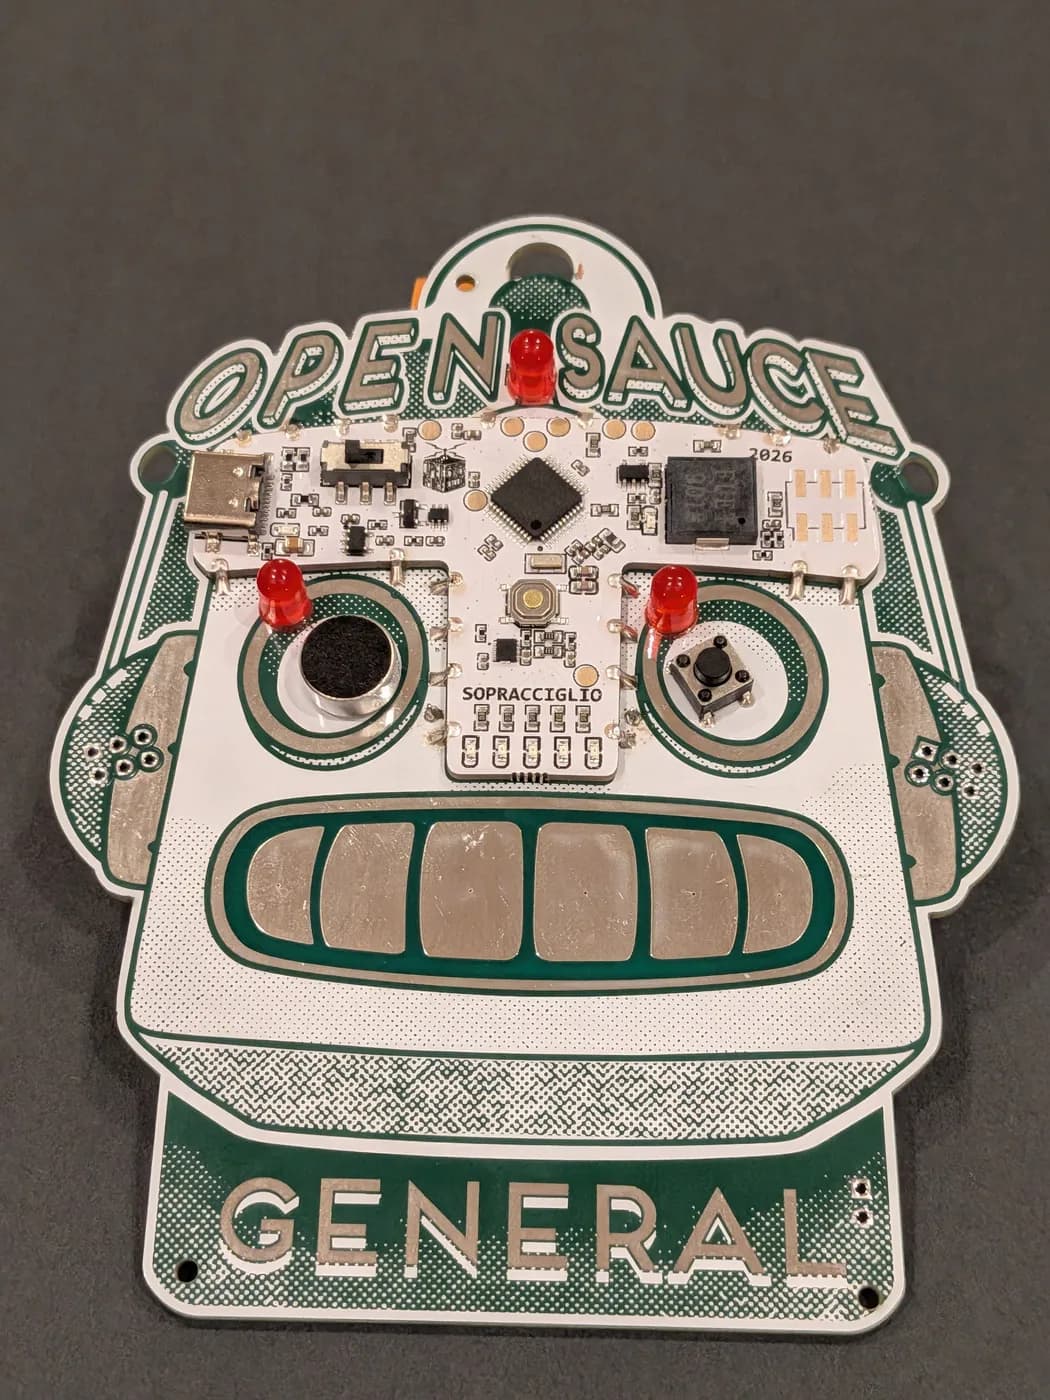
Your Open Sauce 2026 badge is a solderable SauceBot: a microphone and a button for eyes, an Arduino for a nose, and a reaction game baked in. Grab your kit and a soldering iron, and follow along.
Before You Start
Make sure you have everything in your kit:
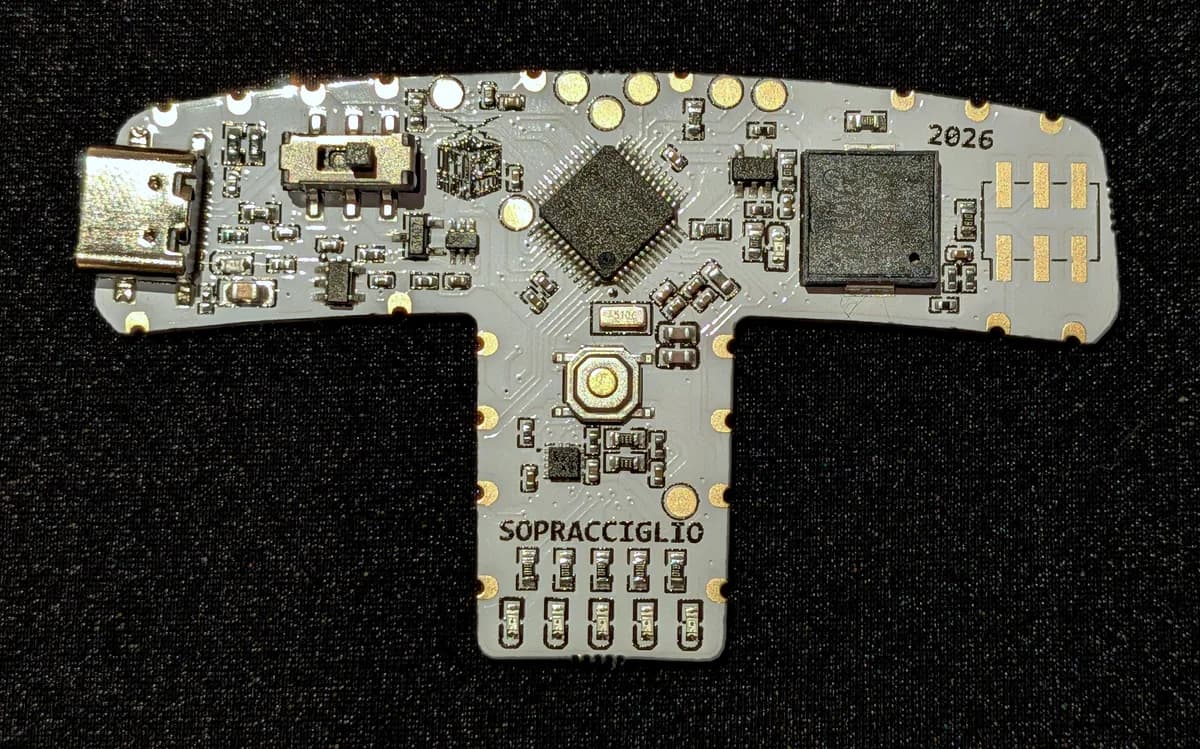
1× Arduino Sopracciglio
The T-piece, a.k.a. SauceBot's nose. Compatible with the Arduino MKR Zero.
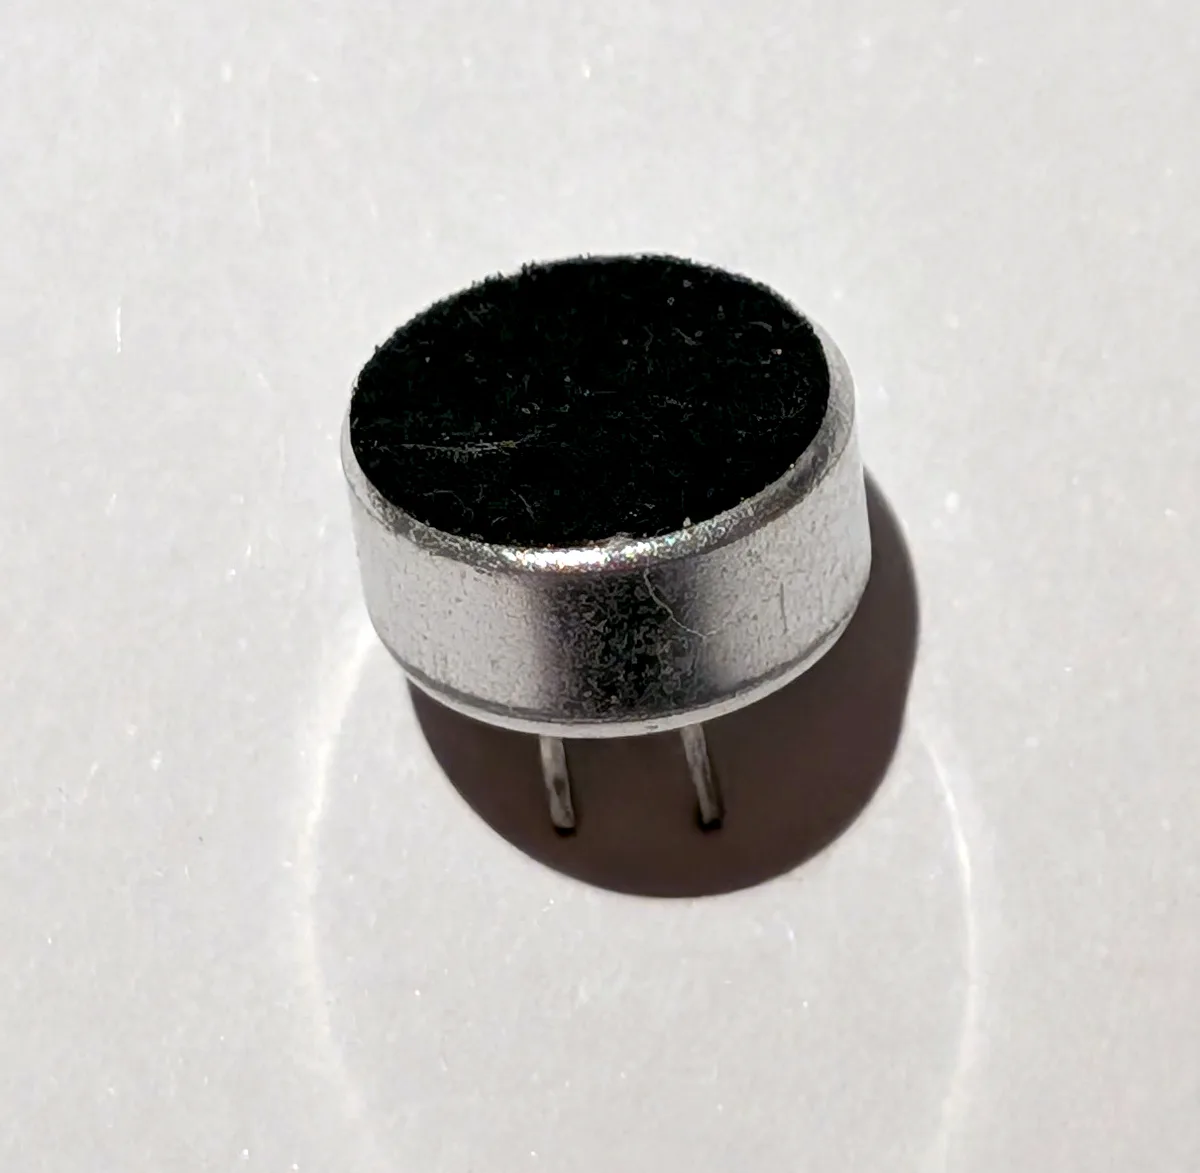
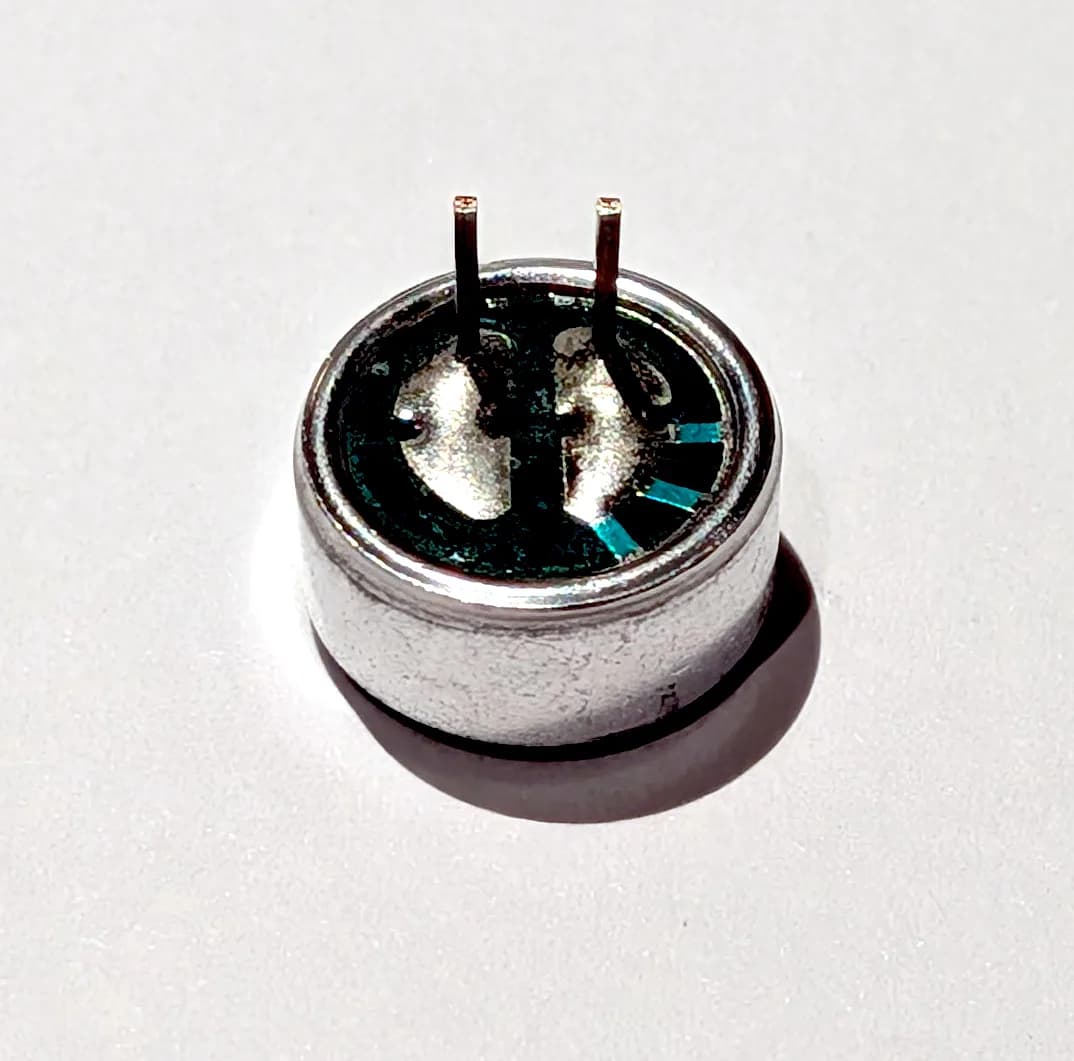
1× Microphone
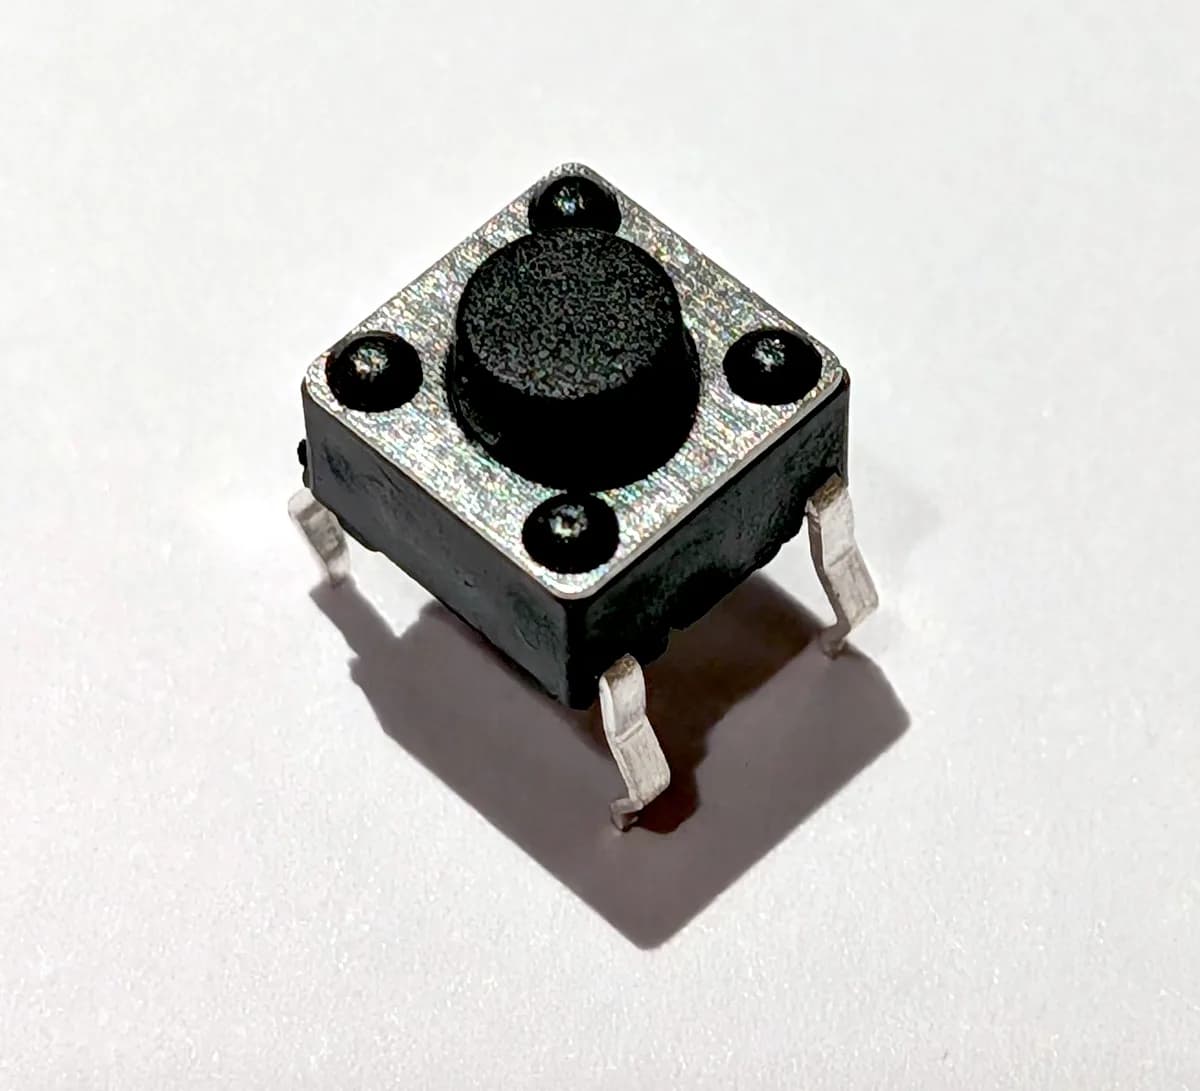
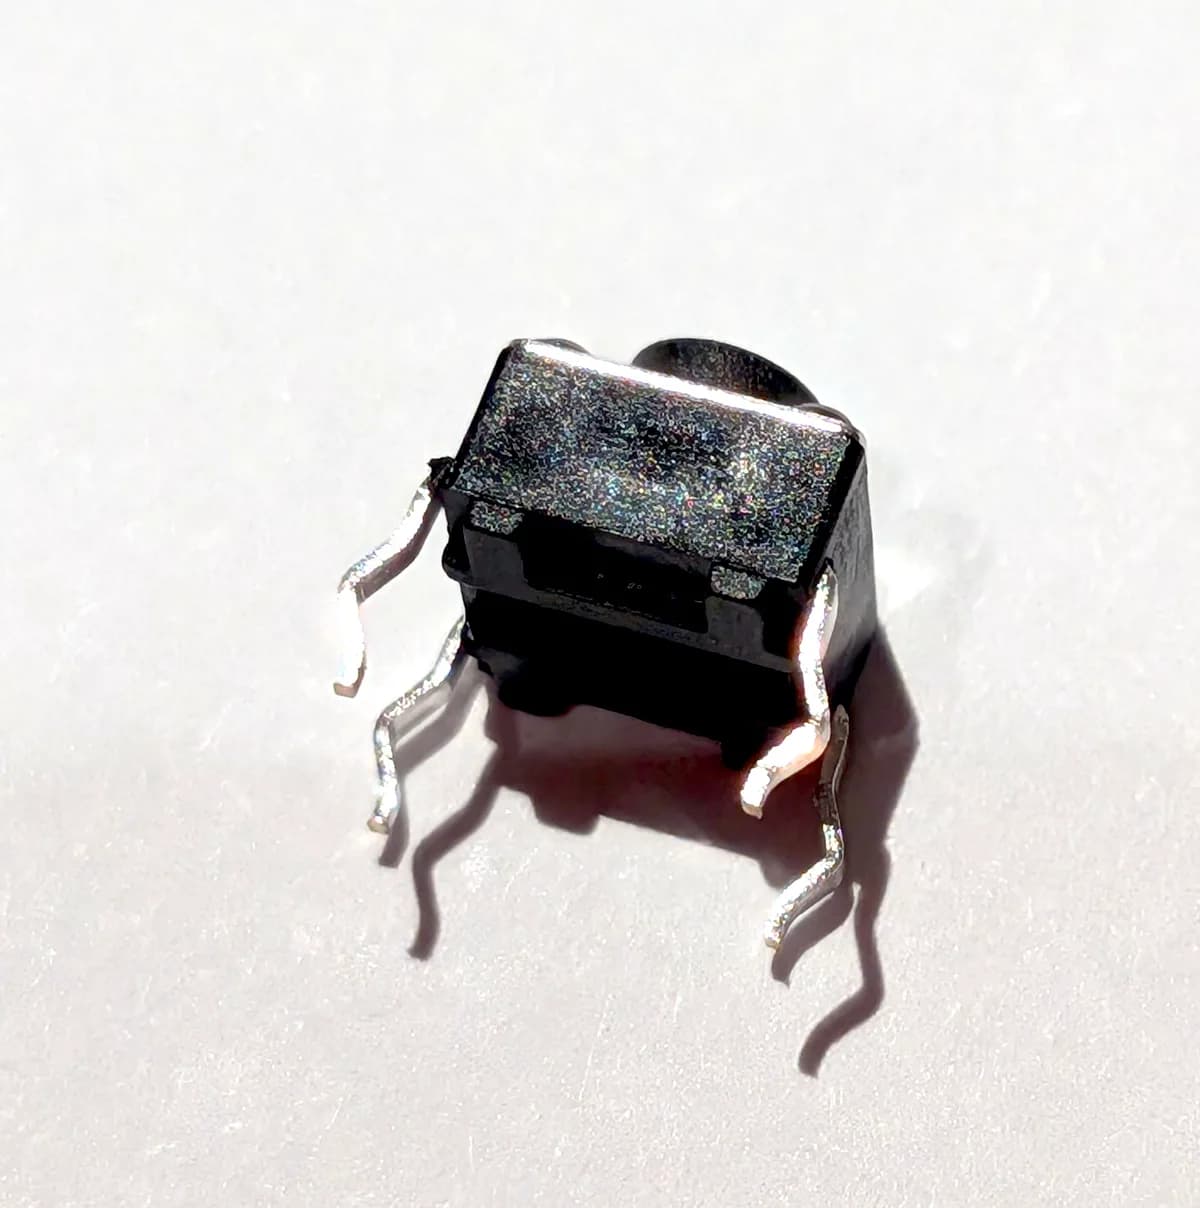
1× Button
Tactile switch.
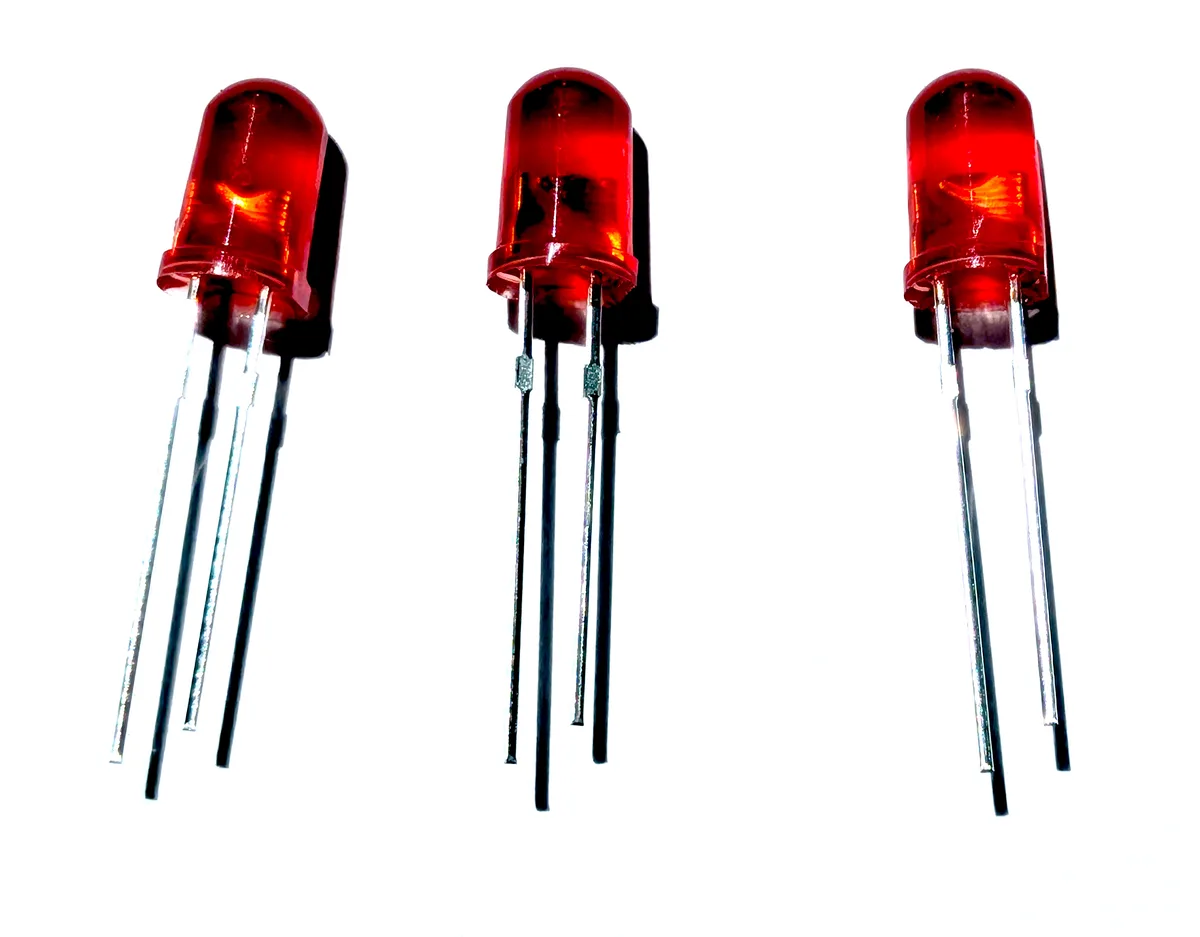
3× LEDs
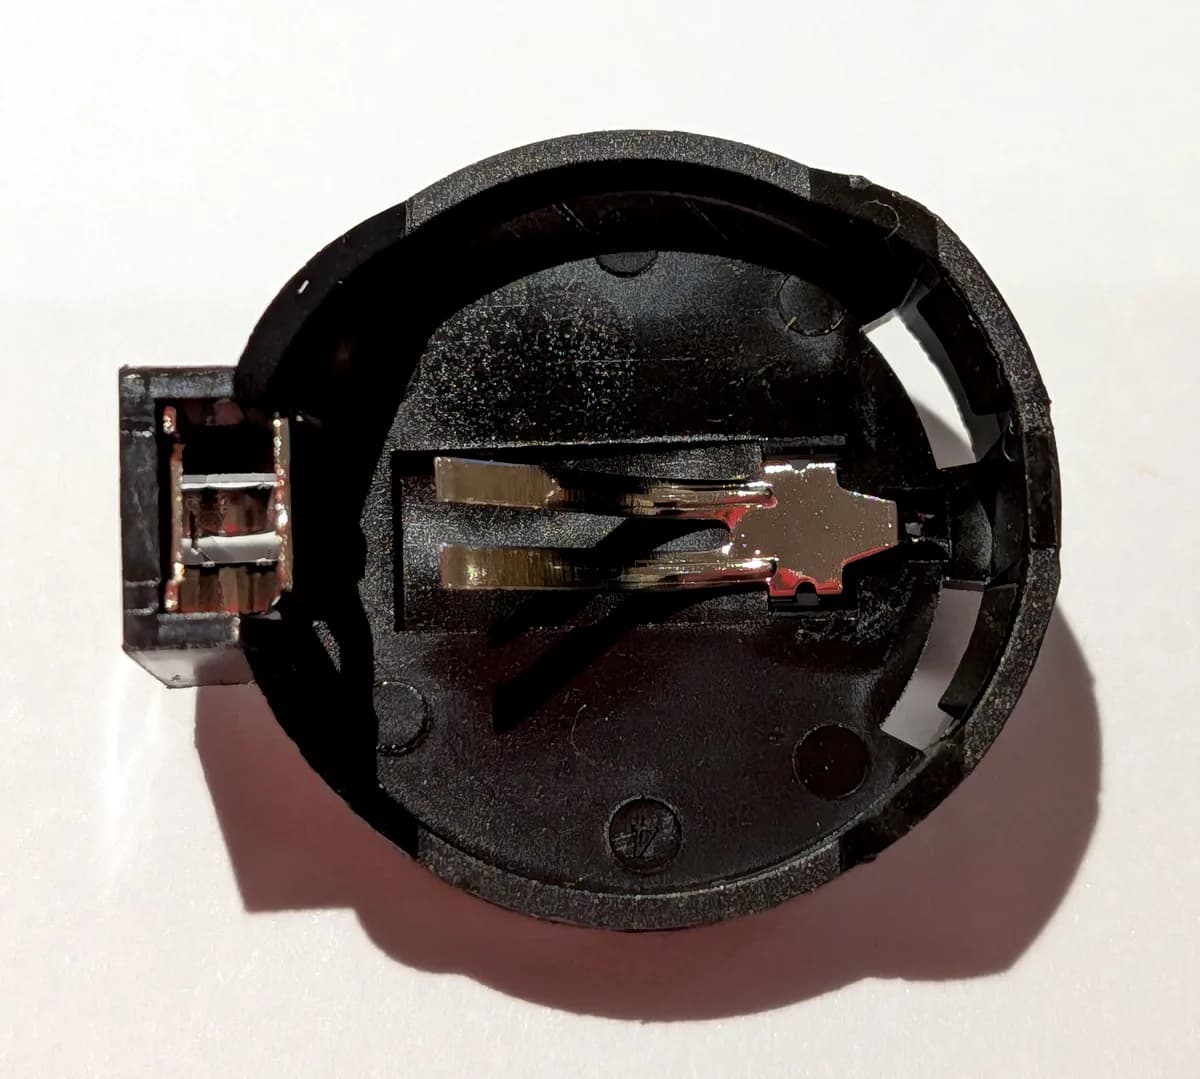
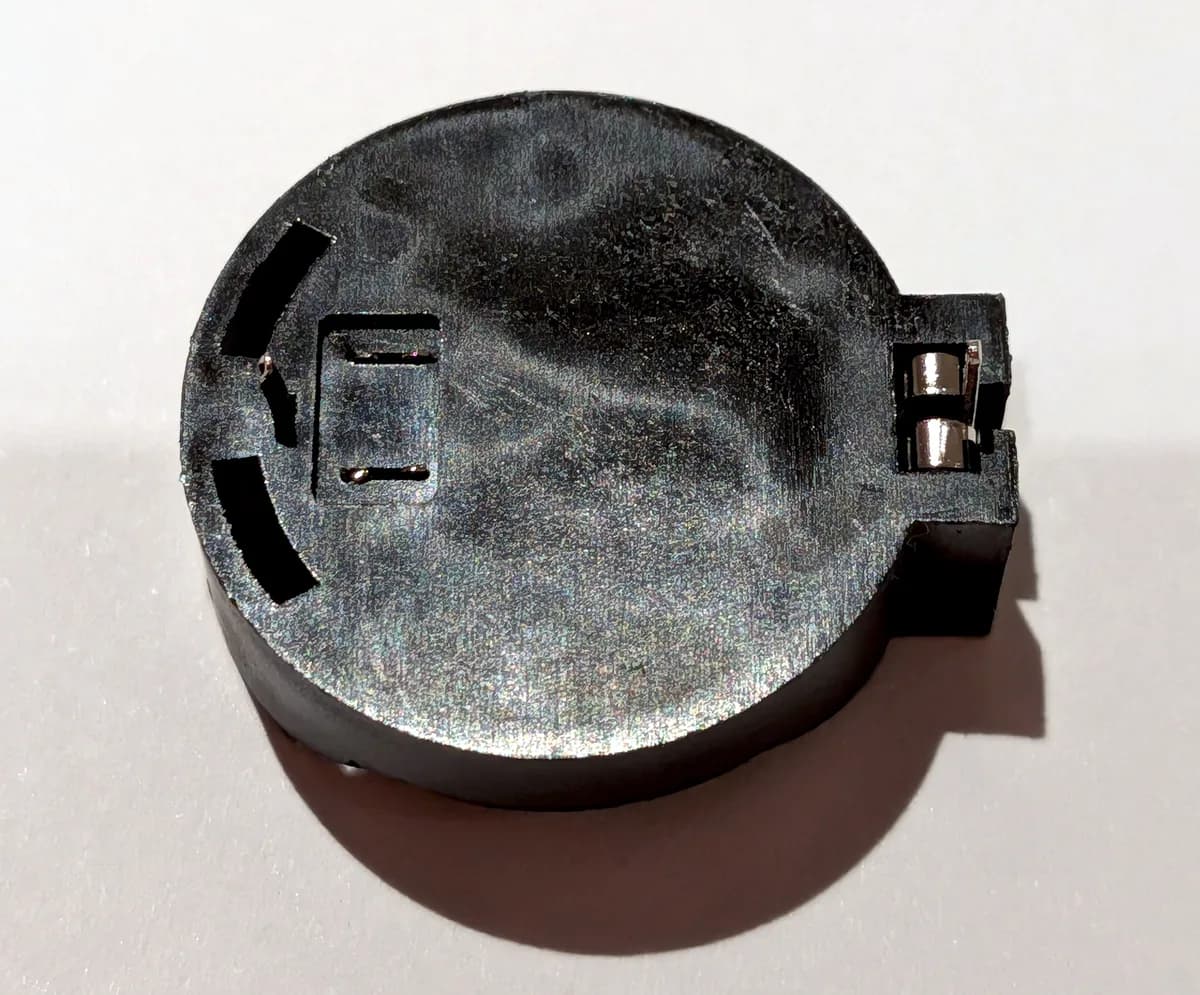
1× Battery Holder
Optional
2× 6-pin headers and 1× 2-pin header, only needed for add-ons. See Extra Credit below.
Read each step before you solder it!
A minute of reading saves a lot of desoldering.
Assembly
- 1
Solder the T-Piece
Set the badge face up, and take off the lanyard.
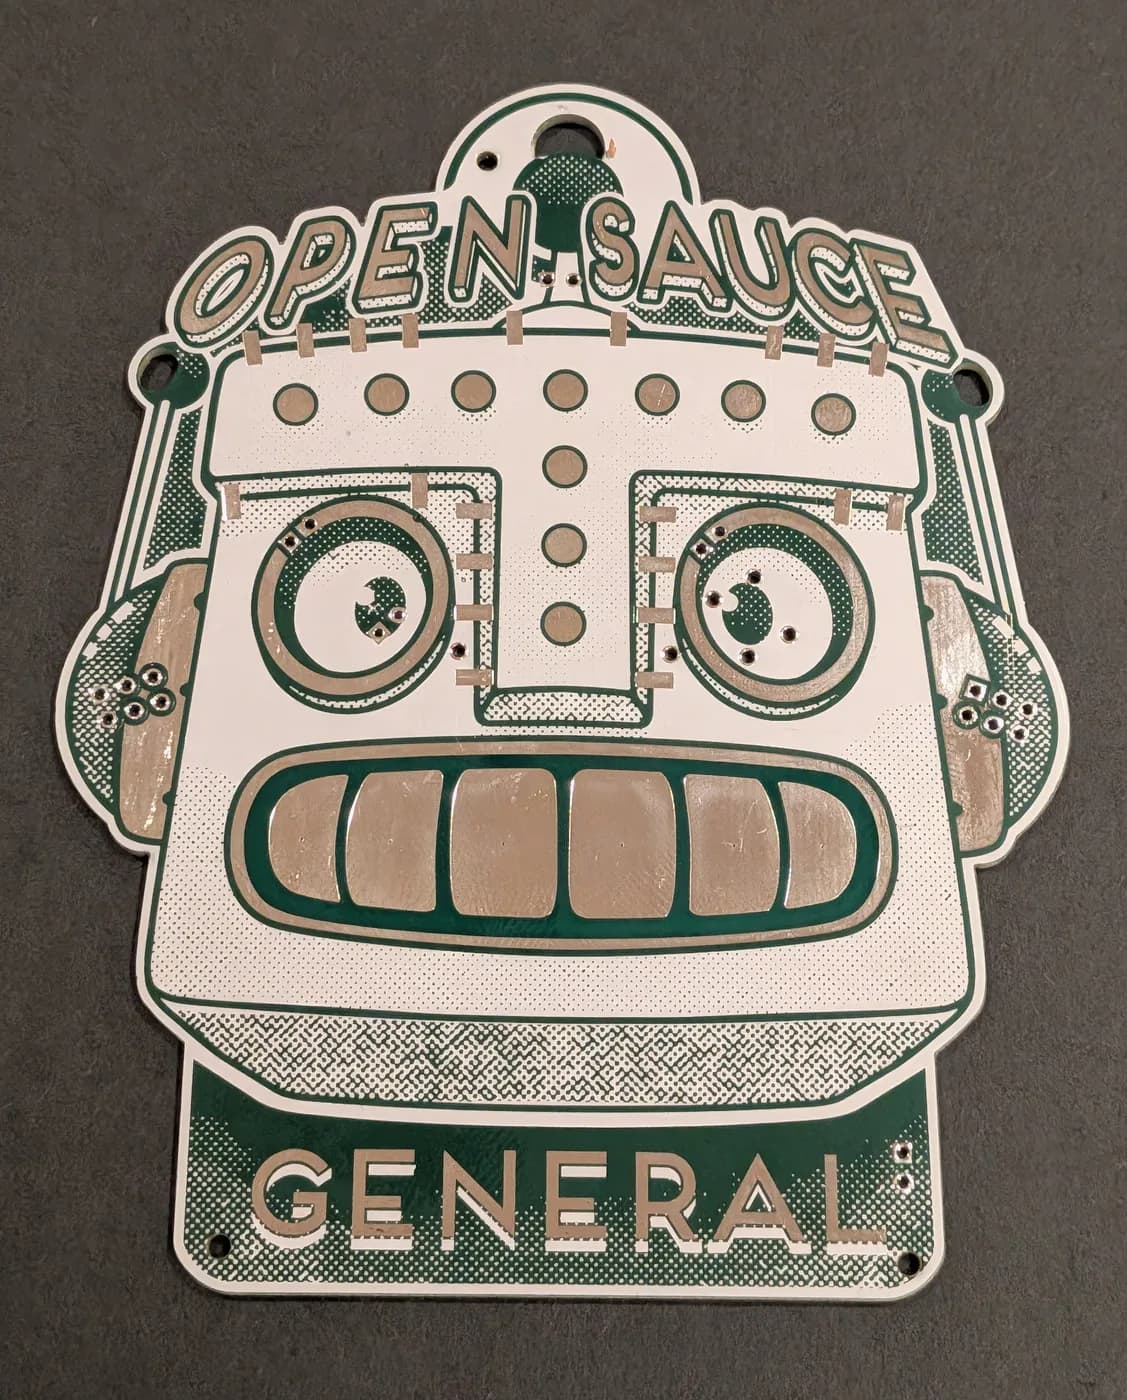
Carefully align the T-piece, checking that the gold pads on its edges sit over the silver pads on the badge.
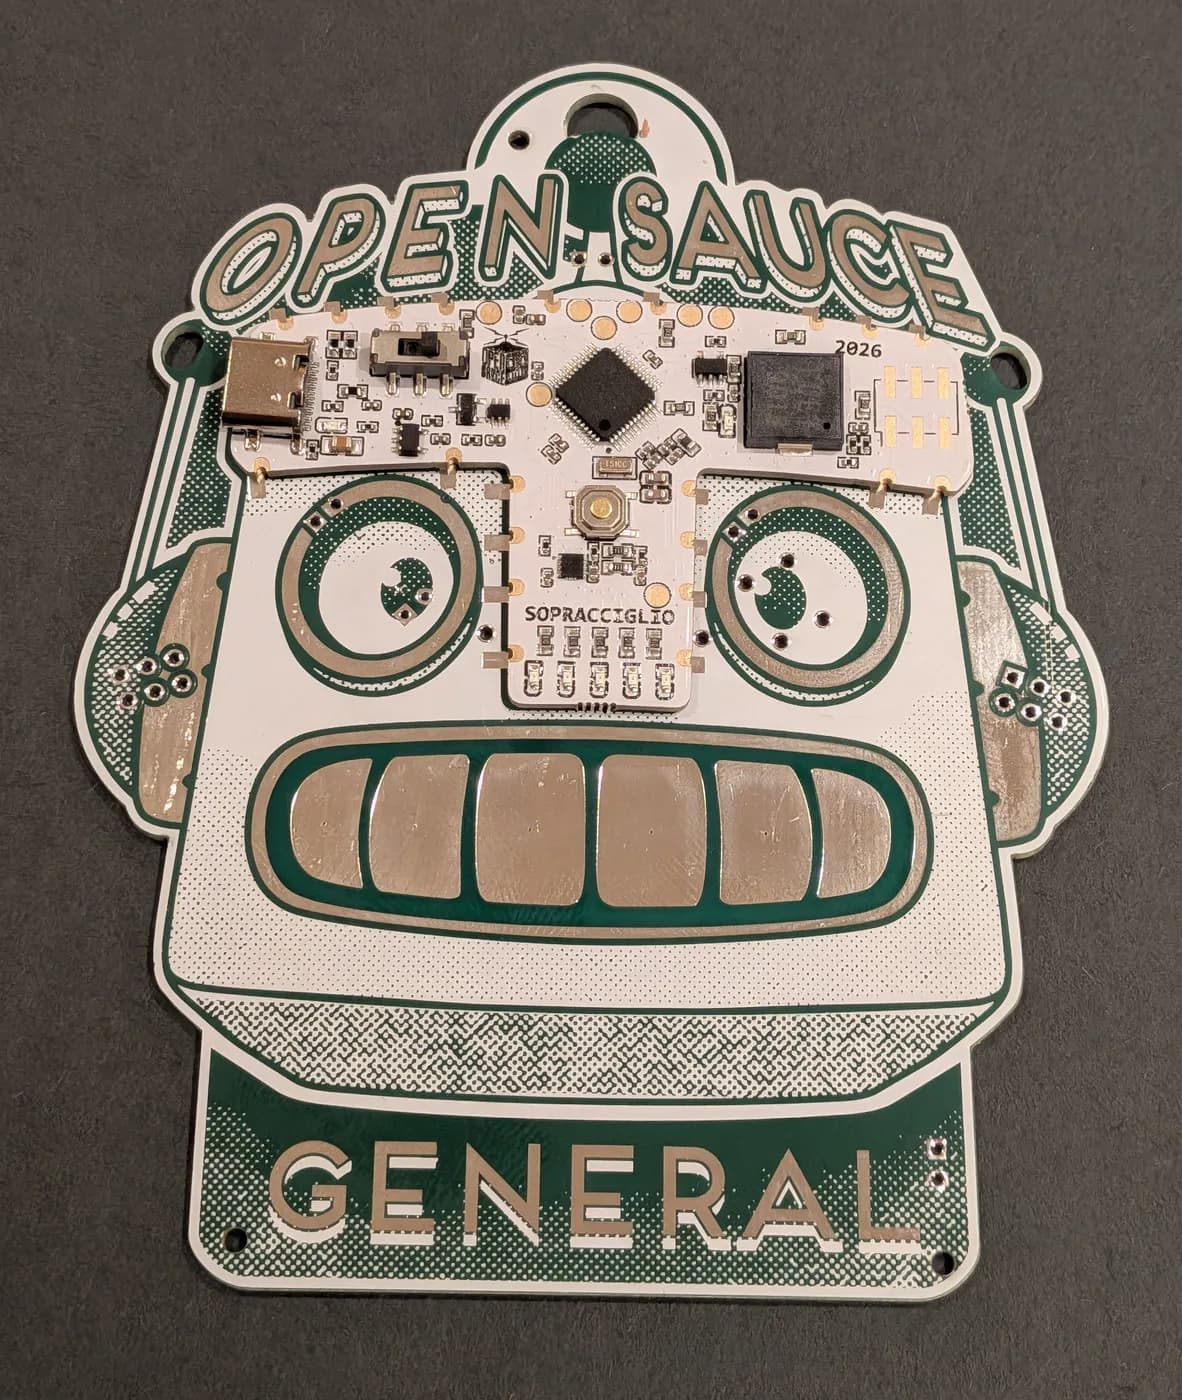
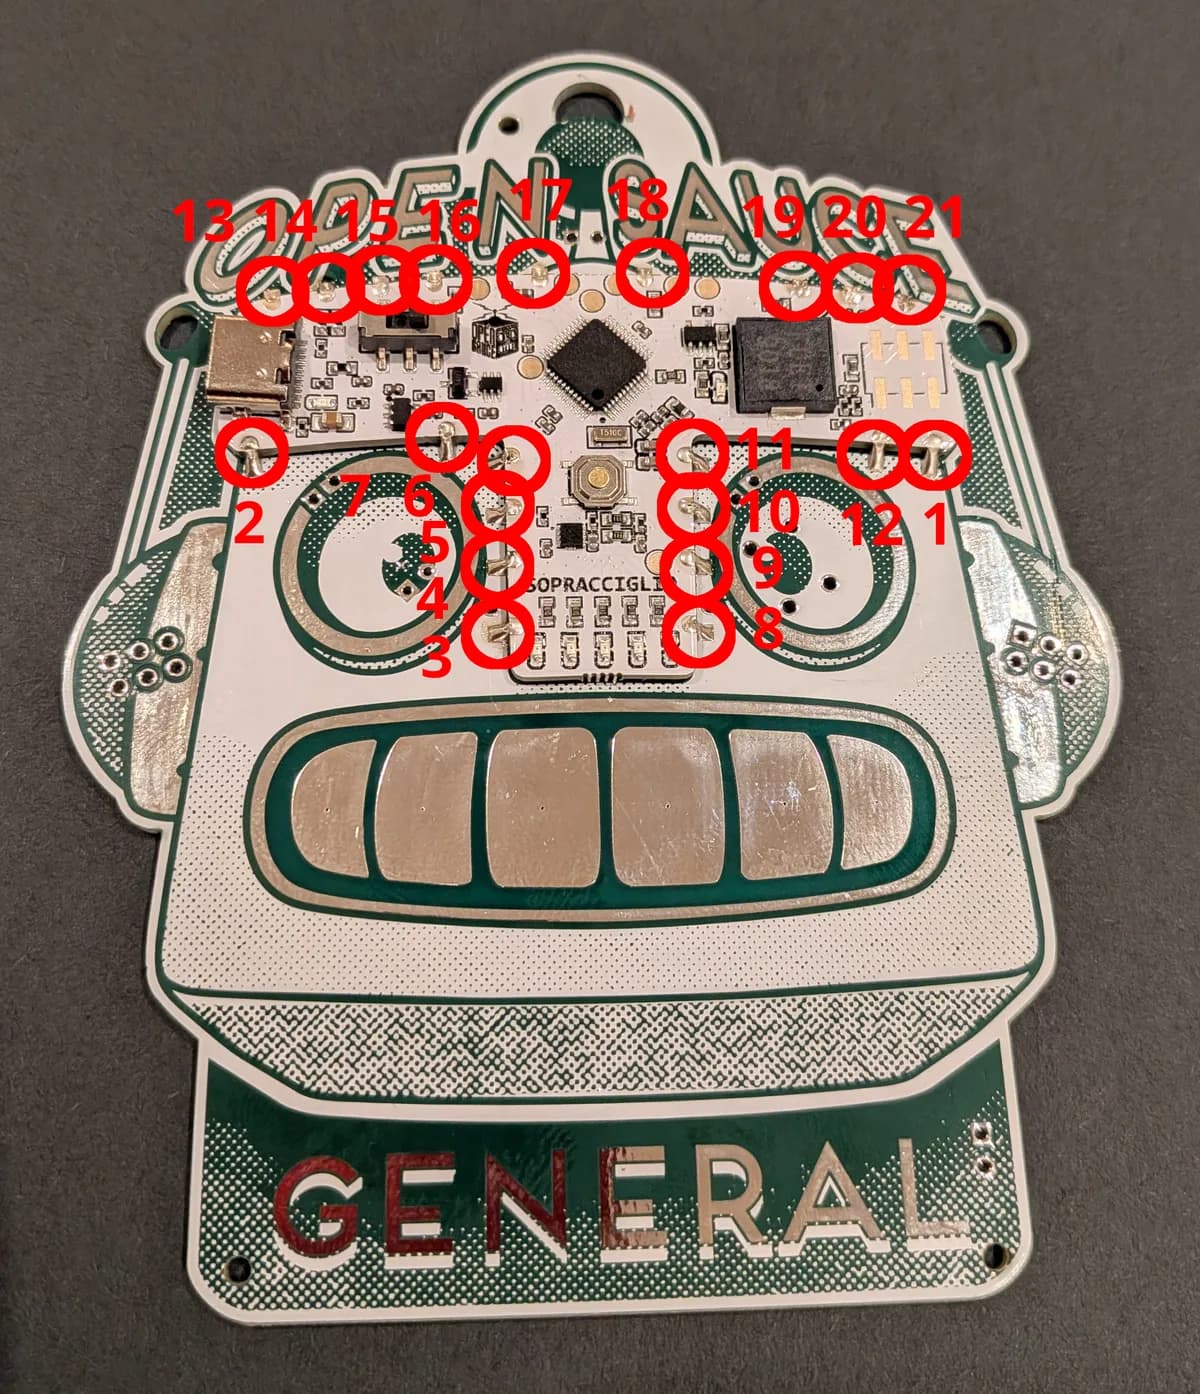
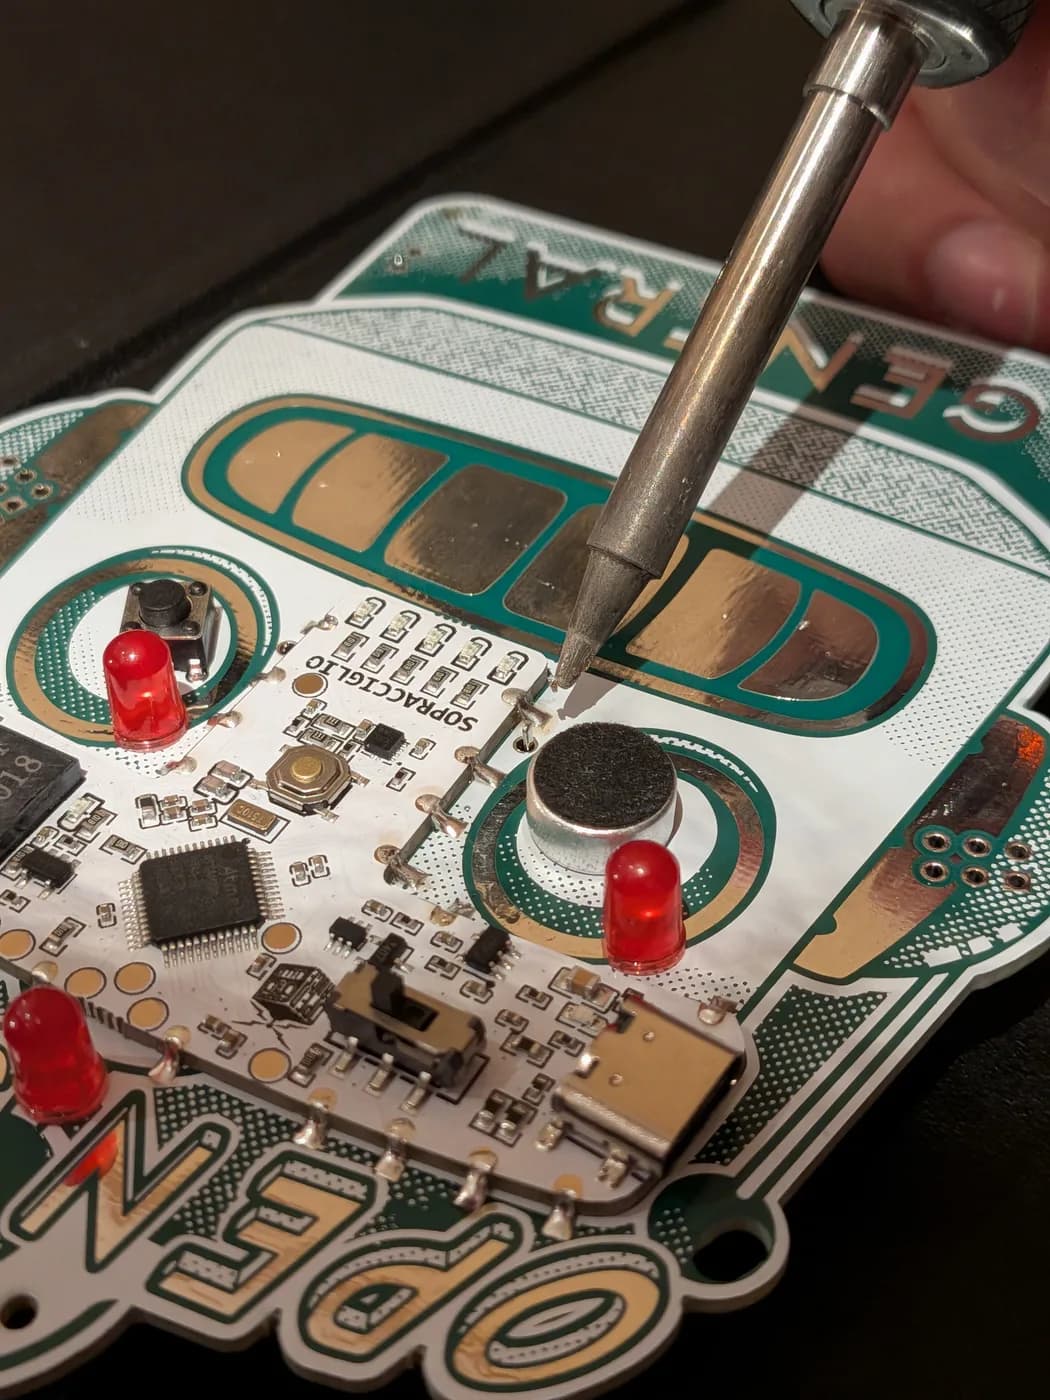
Solder the T-piece to the badge. Make sure you get all 21 pads. We recommend soldering in this order:
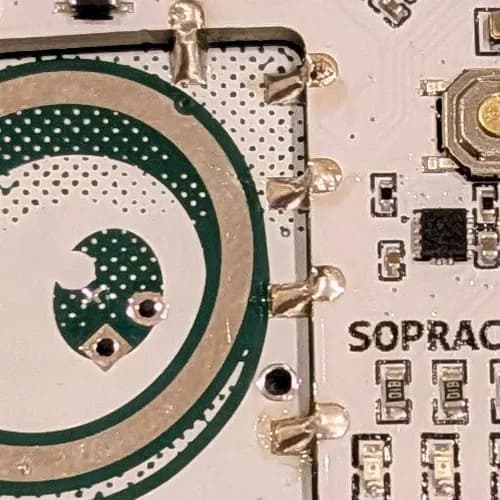
You may have to hold the T-piece in place while you do the first joint or two (a friend can help hold it down). You want to completely fill the cutout on the edge of the T-piece with solder, with a nice slope down to the badge pad.
- 2
Solder the Microphone
The microphone goes over SauceBot’s right eye (your left). Put it in from the face side, and make sure it’s centered over the pupil.
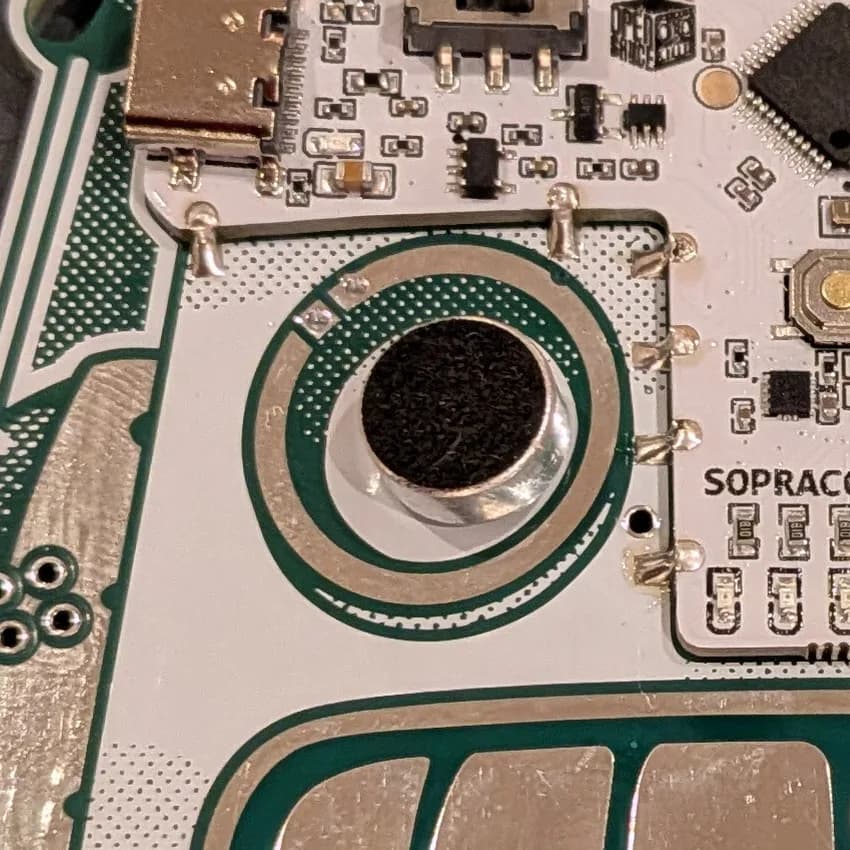
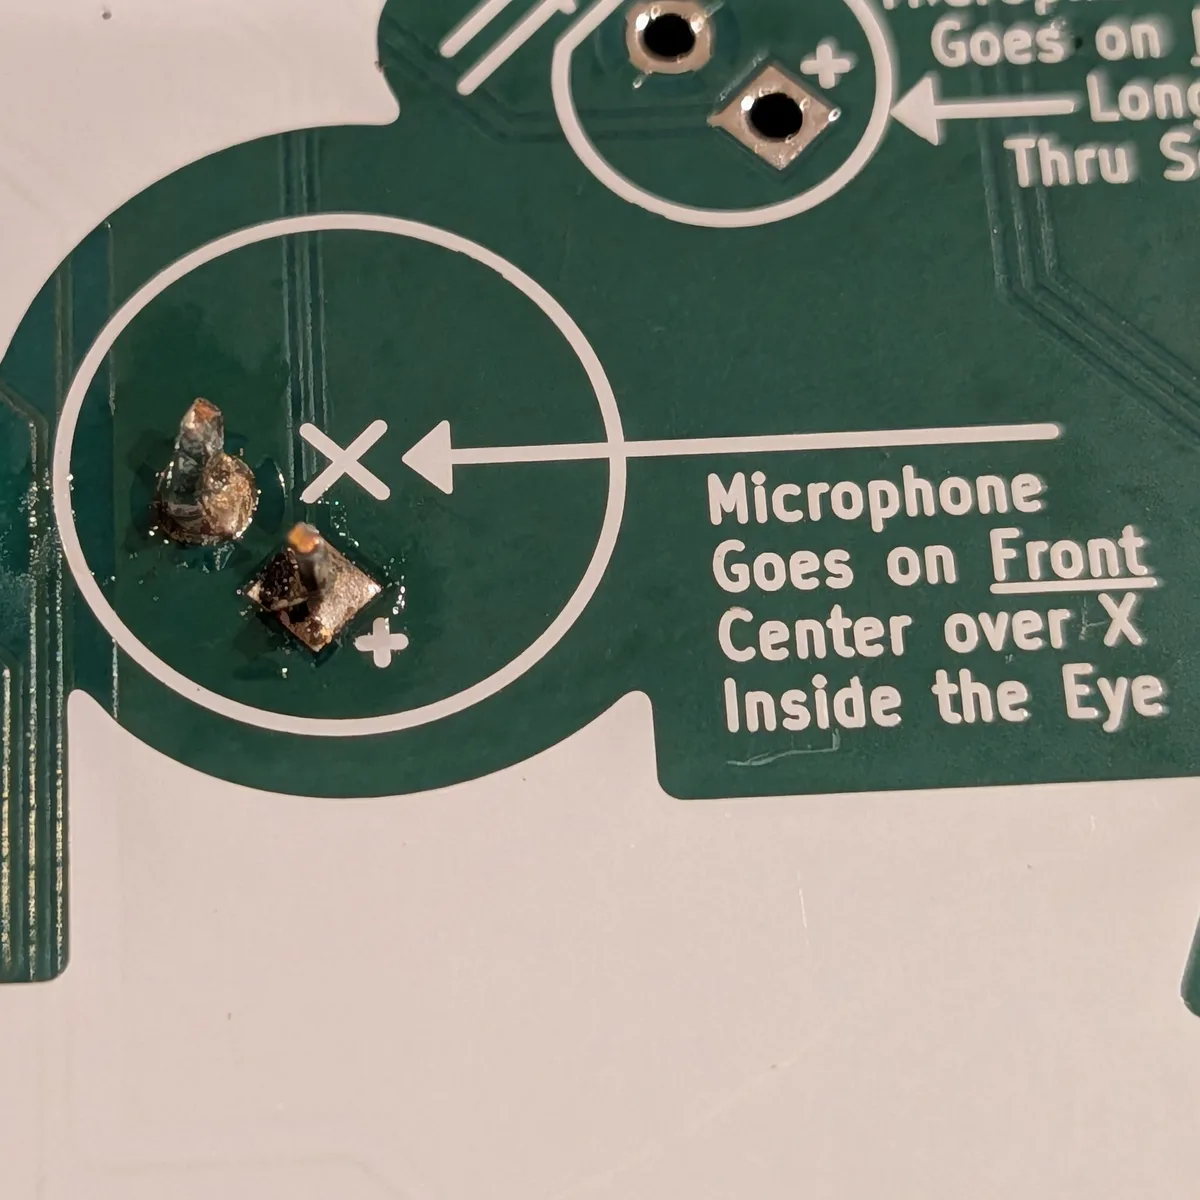
Carefully turn the badge over while keeping the microphone tight against the badge. The leads should come out both holes.
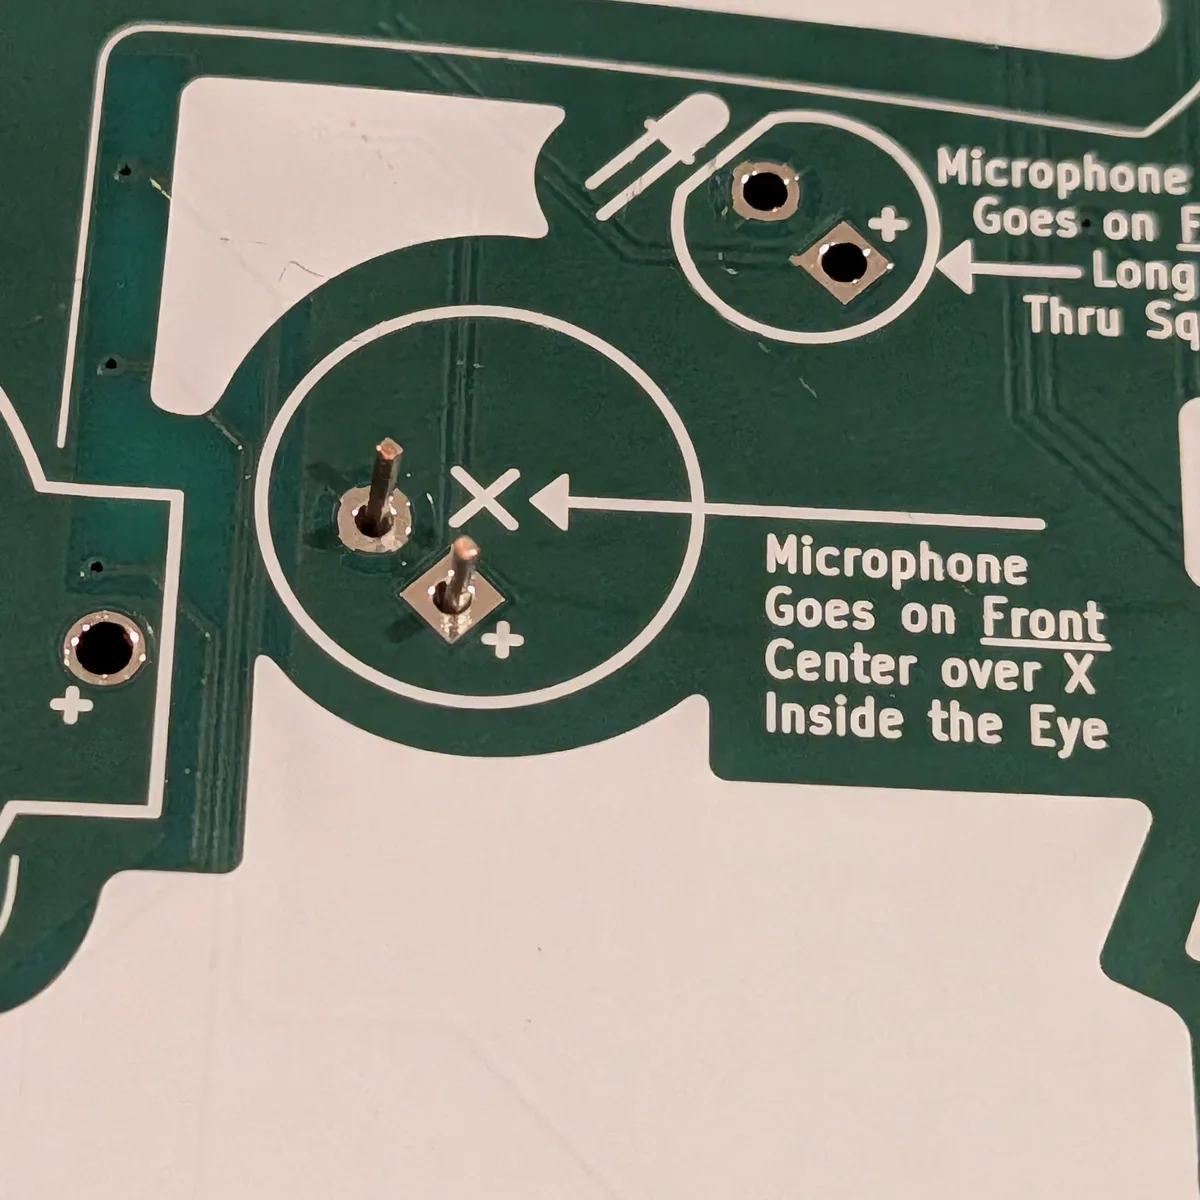
Solder the microphone leads.
- 3
Solder the Button
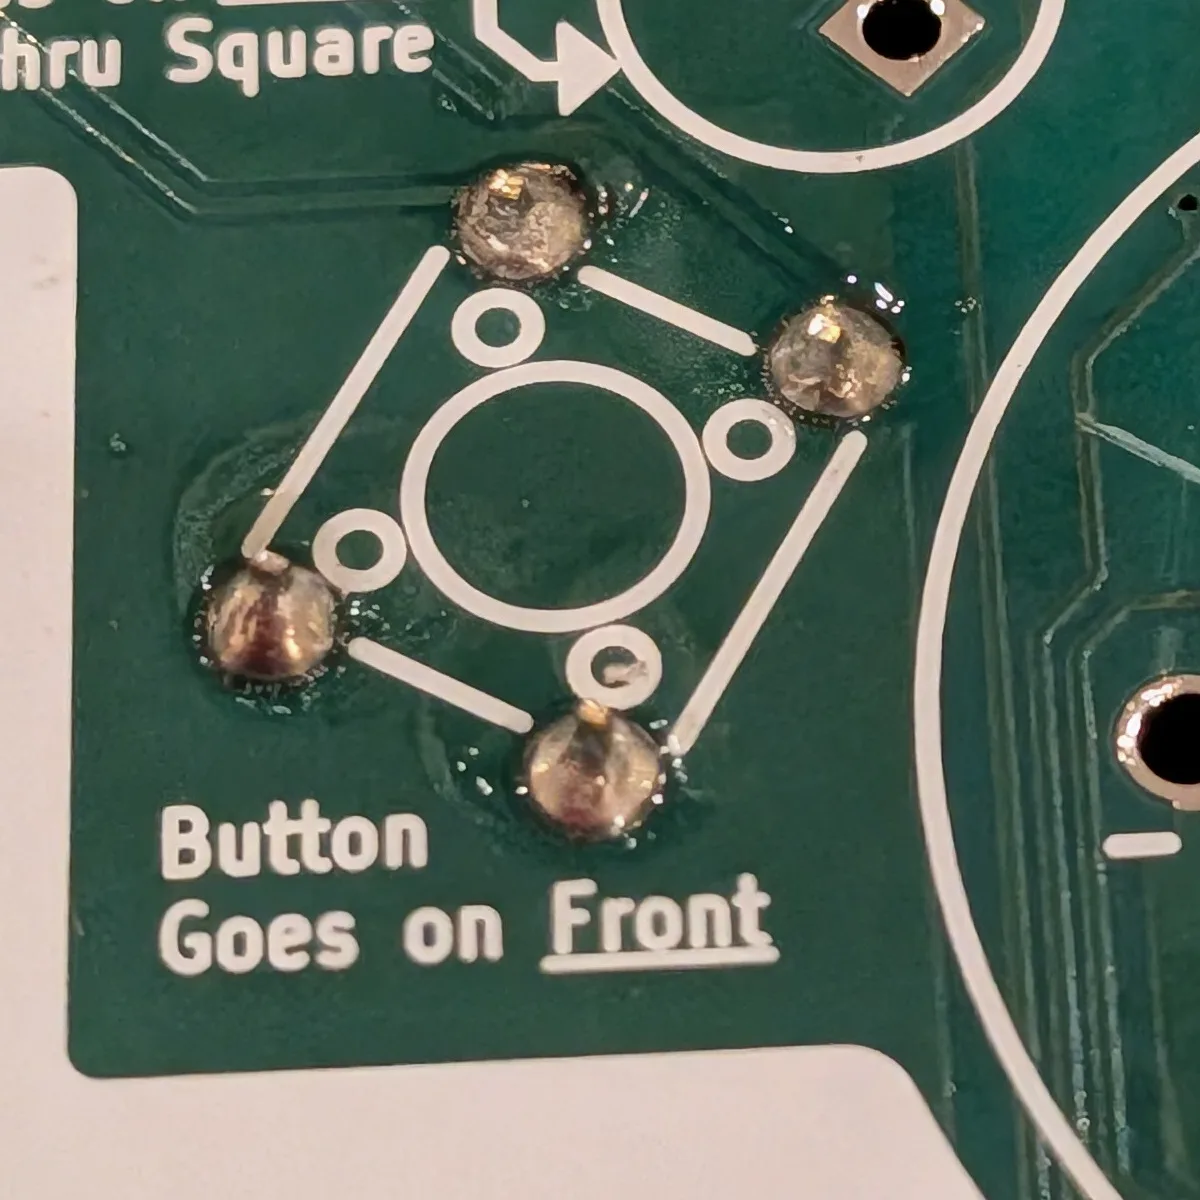
The button goes over SauceBot’s left eye (your right). Put it in from the face side, and make sure it’s aligned with the holes. It will take a bit of force to push it down flat against the badge.
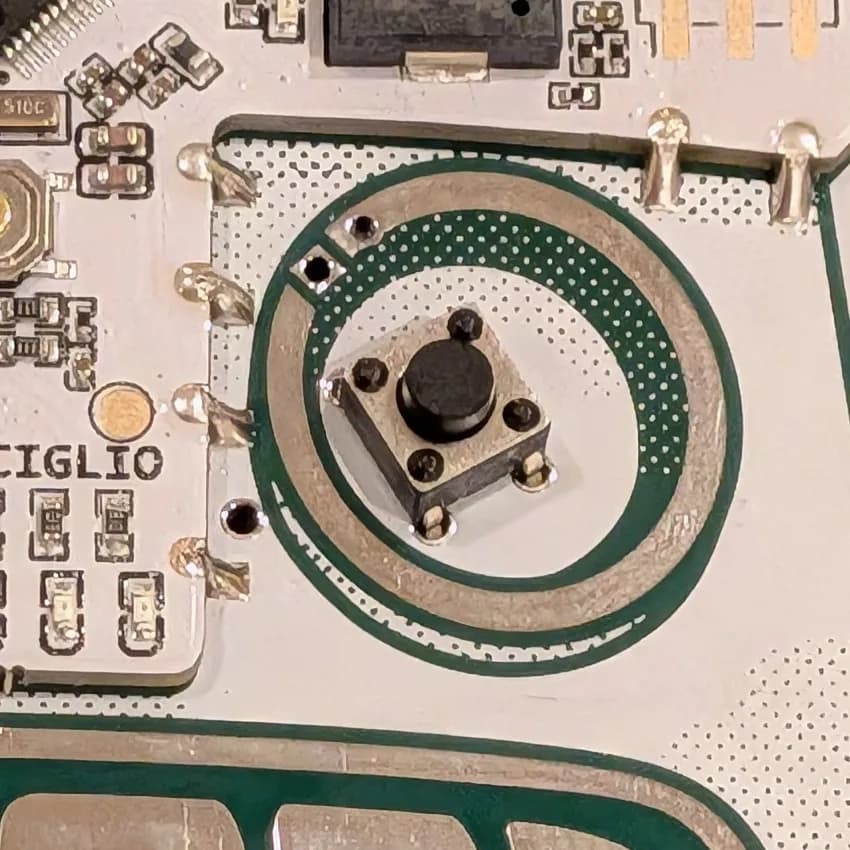
Turn the badge over while keeping the button in place. All four leads should stick out slightly from the badge. Solder all four leads.
- 4
Solder the LEDs
The three LEDs are inserted from the front. Insert them so that the longer leg goes in the square hole.
Longer leg → square hole.
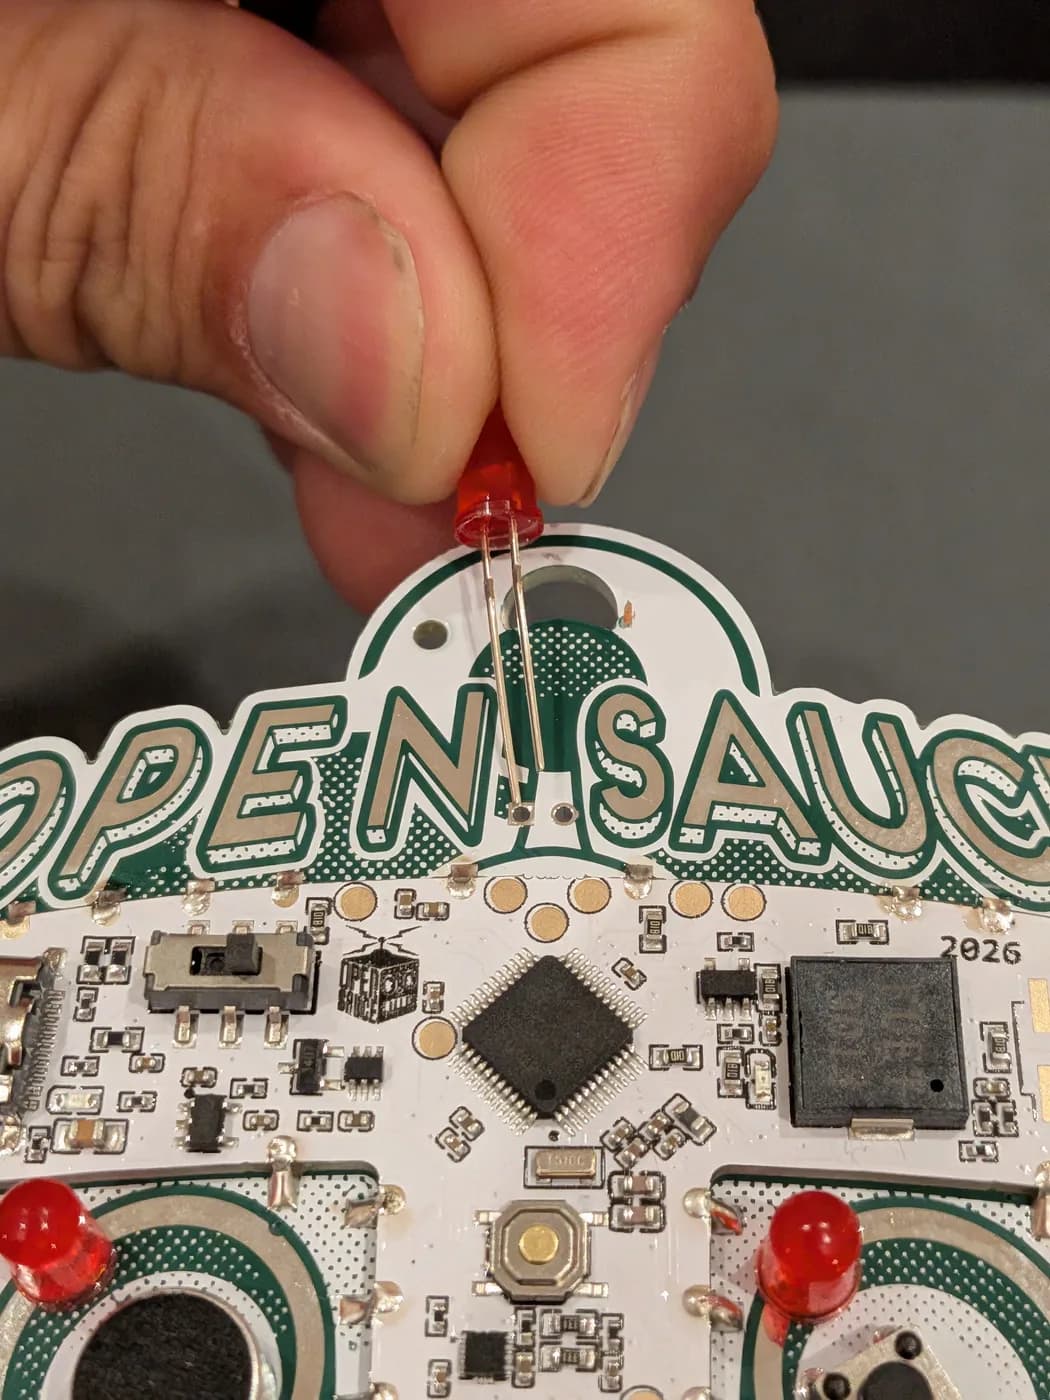
You can do each LED one at a time, or all three at once, depending on how comfortable you are soldering.
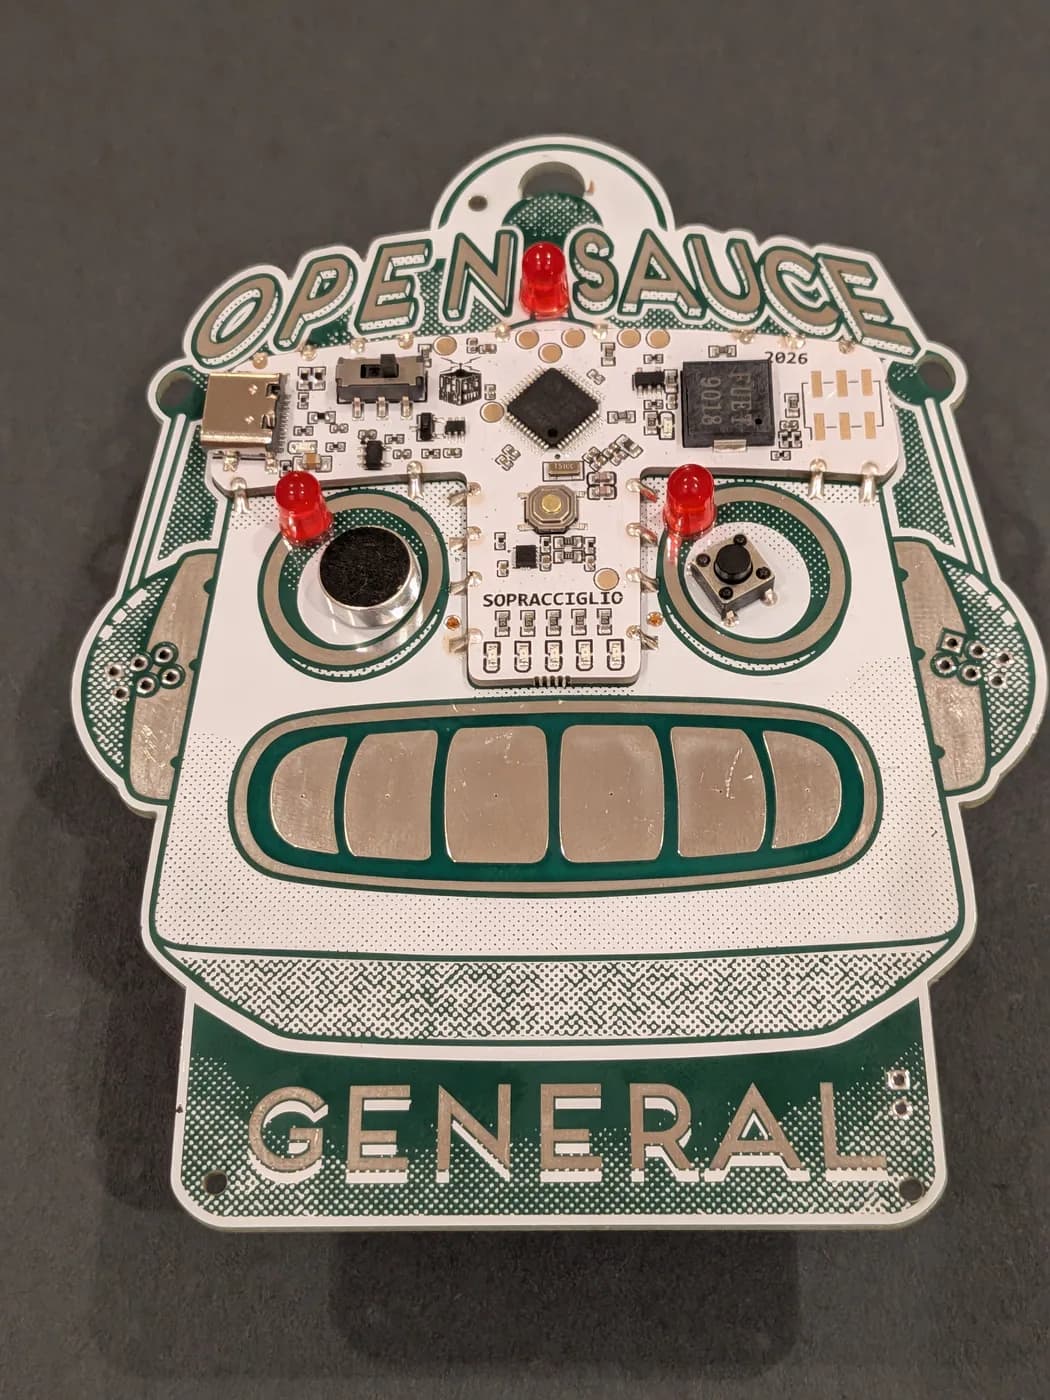
You might find it helps to bend the leads outward some to hold the LED in place while soldering.
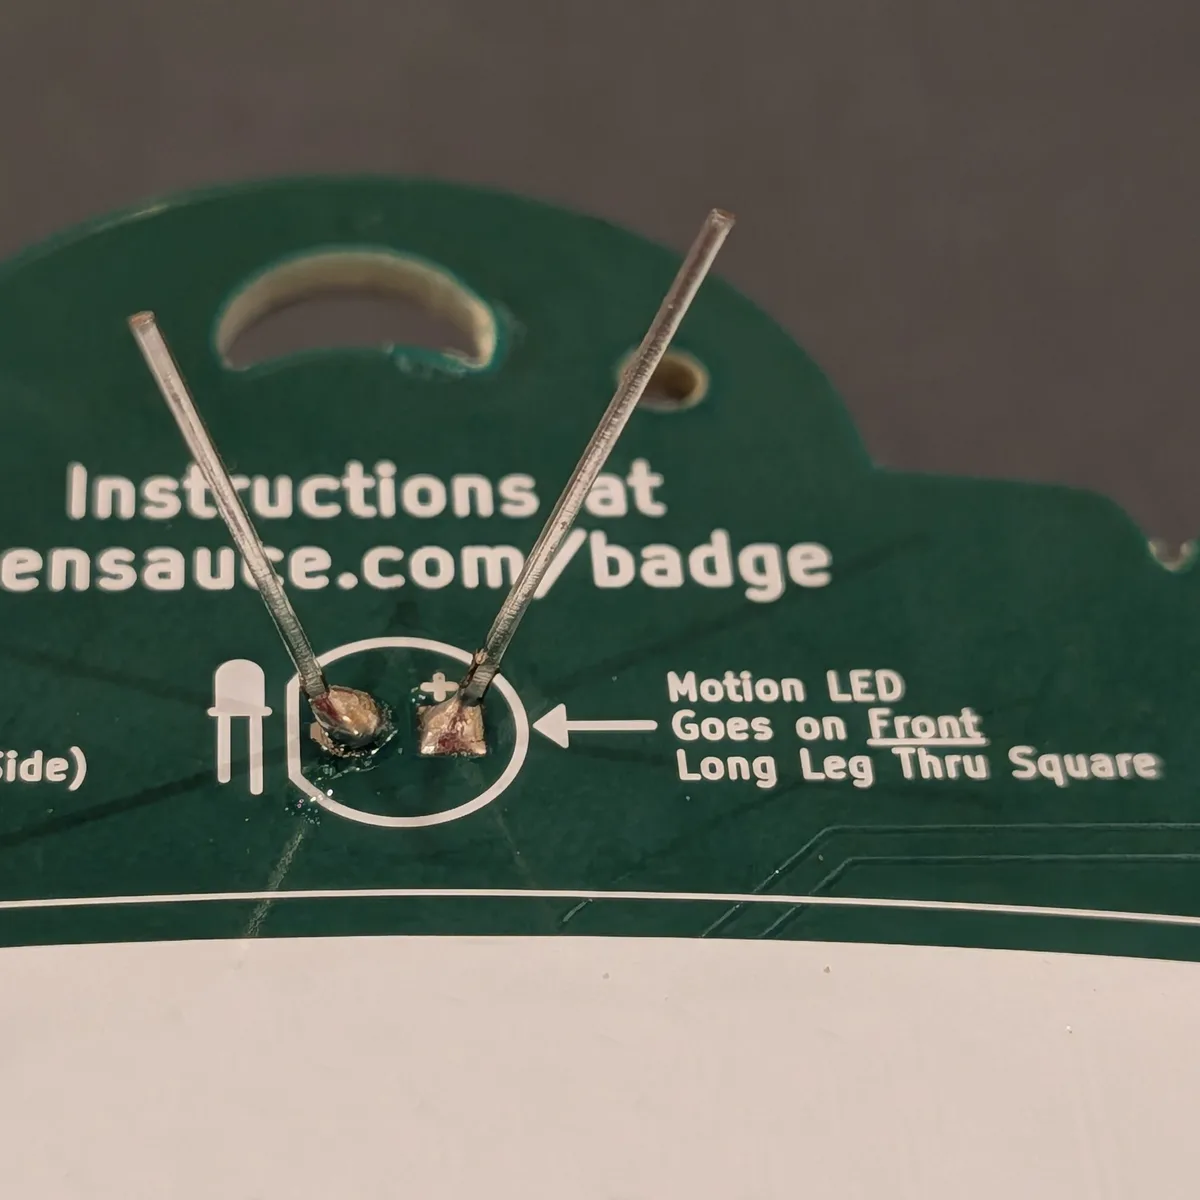
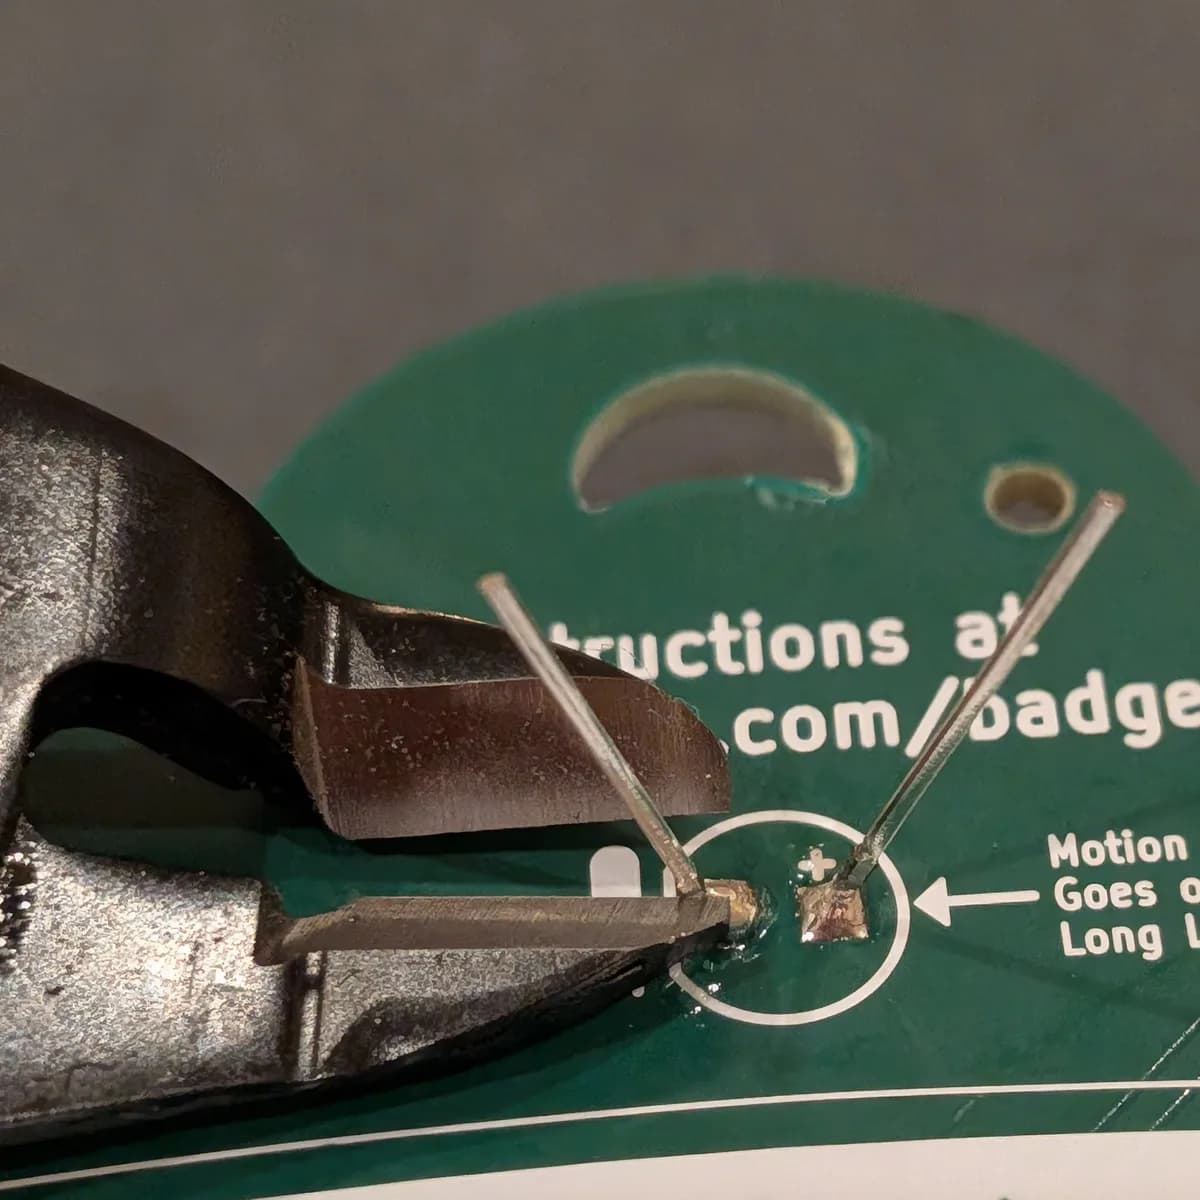
After you have soldered all three LEDs, clip off the excess lead length. Use flush cutters, being careful not to cut too close and damage the board.
- 5
Solder the Battery Holder
The battery holder is installed on the back, so turn the badge over and place it in the outline.
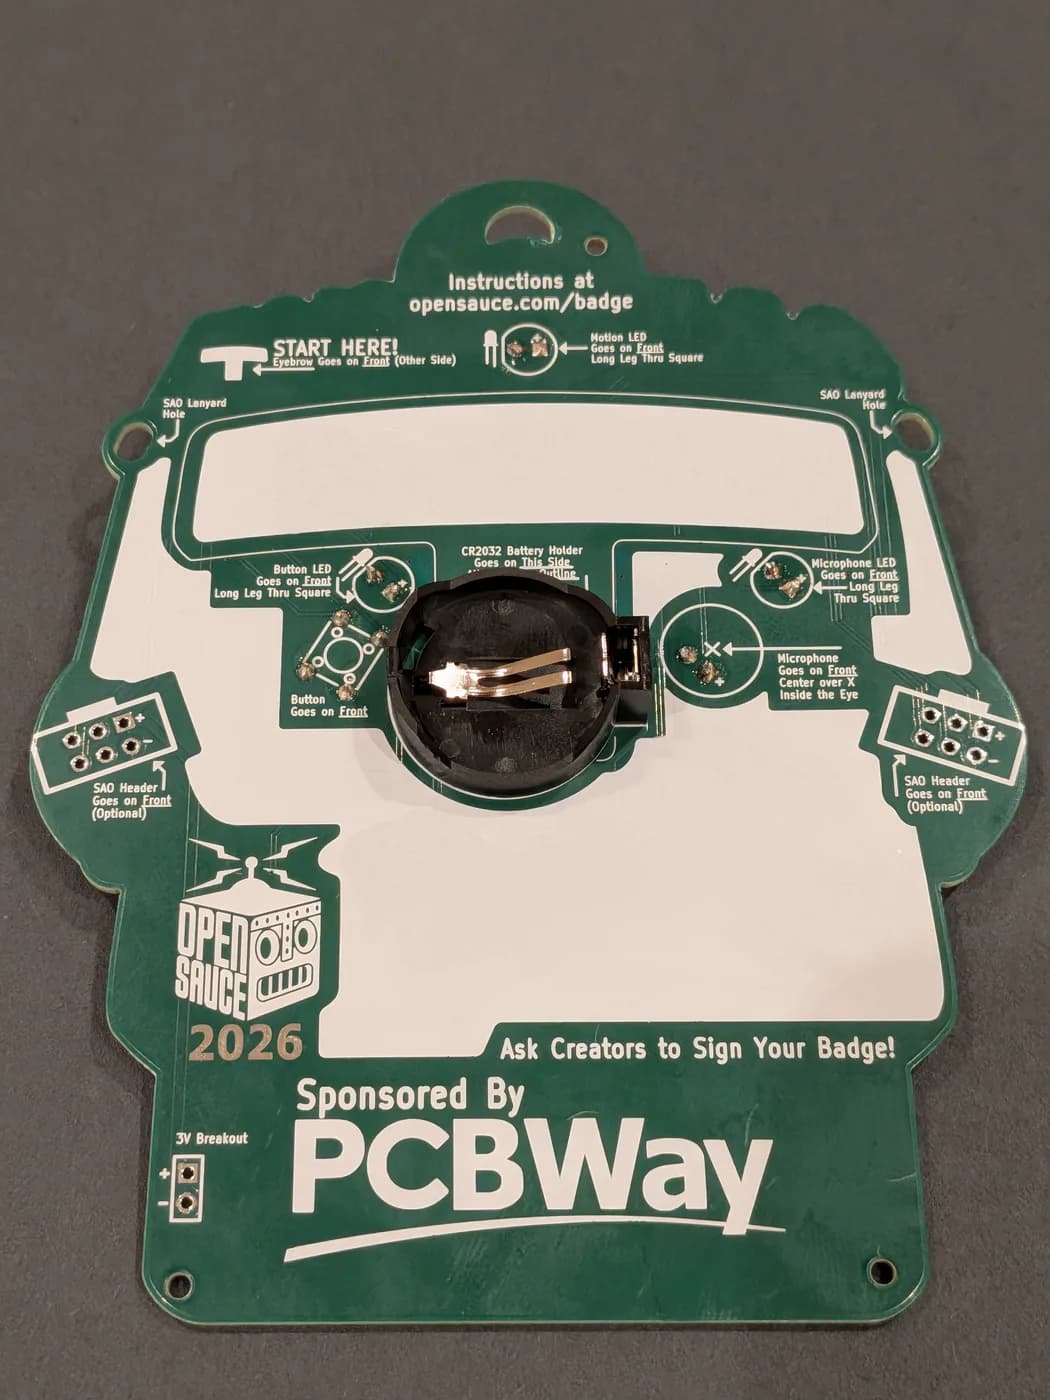
Flip your badge over to the front and solder the battery holder in. Be especially careful where you hold the iron. You don’t want to melt any of your previous work.
- 6
Install the Battery
Pop the battery into the holder, and that’s the build.
You’re Done!
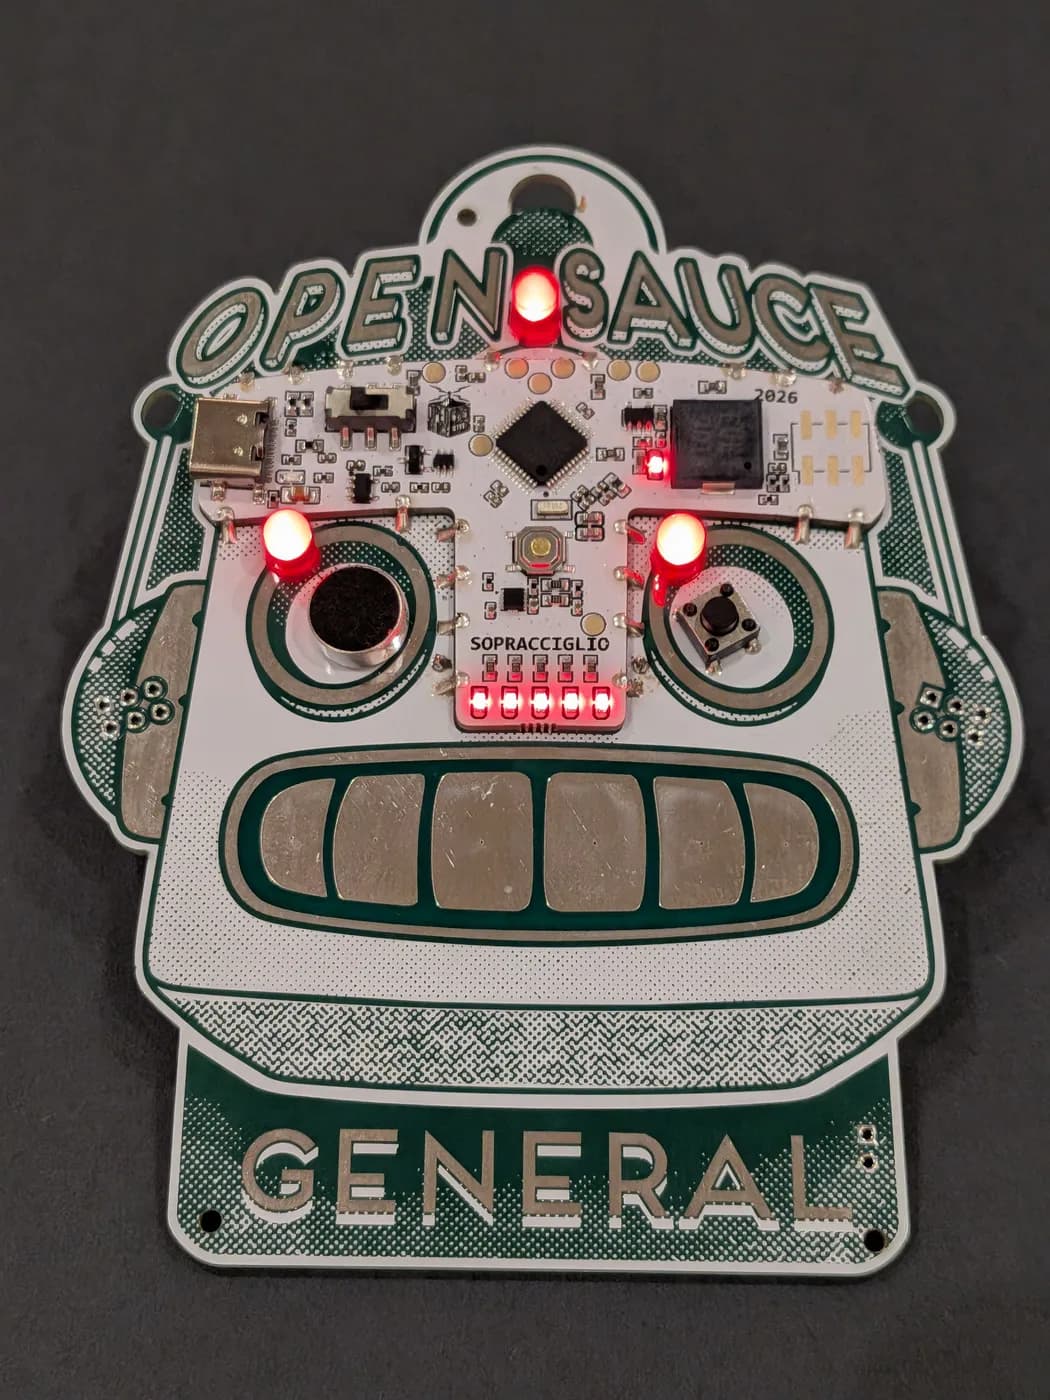
SauceBot lives. Flip the sliding switch to power it up. It comes pre-programmed with a game, and the SAO headers on its ears are waiting for add-ons.
Extra Credit
SAO Add-Ons
The two 6-pin headers on SauceBot’s ears are for SAOs (Simple Add-Ons), and there’s a 2-pin battery-only header too. None of them are required to finish your badge, but there are some cool things you can find at Open Sauce 2026 to plug in and augment it.
It’s an Arduino
Your badge is Arduino compatible. We call it the Arduino Sopracciglio, but if you want to use it with the Arduino IDE, set your sketch up for an Arduino MKR Zero.
How to Play
Your badge comes pre-programmed with a game. The sliding switch turns the badge on and off, and the small gold button in the bridge of SauceBot’s nose restarts the game. Your goal: when an LED blinks, activate its sensor before time runs out. Take too long and you lose!
LED by the microphone
Make noise.
A loud enough sound works. So does just blowing on it.
LED by the button
Press the button.
LED on the forehead
Shake it.
Shake the whole badge. There’s an accelerometer in there.
LED bar under the nose
Swipe the teeth.
Swipe in the same direction as the LED bar. All LEDs blinking means any swipe counts.
There’s a random delay between actions, so don’t get caught off guard.
Have fun at Open Sauce 2026!